Description
===================================================================
Update v2.0. Check the Changelog for details.
===================================================================
This update is fully compatible with the FlyByWire A32NX
GIMP files Included
===================================================================
This Kit contains:
- Blender Model of the A320, including the cockpit.
- 8K PSD files for the Fuselage, Wings and Engines, all with layers and masks.
- 8K XCF files for GIMP users.
- All Textures, Composites and Normals in PNG, linked in Blender.
- A Complete and ready to fly Asobo A320 NEO livery template to replace your files.
- A Complete and ready to fly FlyByWire A32NX livery template to replace your files.
- PDF with a brief guide, instructions and notes.
This Paintkit is meant to be used in a combination of Blender and Photoshop, but feel free to experiment as you like!
This is by no means a complete guide and a how to paint a A320 NEO livery on blender and photoshop, but a collection with EVERYTHING needed to do so and a quick guide, if you know some basic Photoshop and Blender, or just like me, you want to experiment and learn through the process.
There are several great guides on YouTube on how to live paint the A320 NEO, this download is merely a convenience, with all the prework done so you don't have to go through sorting everything out from scratch.
If you know what you are doing, you can probably ignore mostly everything bellow here, apart from the folder structure I have that explains what is where and why, but probably you can figure this out by yourself.
If you don't know what you are doing and how to start, you will need to learn how to use layers and masks on Photoshop (or GIMP) and also how to work in the Texture Paint mode of Blender. Basically, how to live paint, how to save the texture you painted, and how to import the texture that you edited in Photoshop. There is a brief guide in the included PDF.
===================================================================
Contents in the PDF file
- Intro
- Changes from v1.2
- Software I used
- Software you will need
- Folder Structure
- About the Blender file
- Setup
- Basic workflow
- Recommendations & Notes
- Exporting DDS
- Personalization
- Importing Your livery in game
- Help and Support
Read the PDF included in this download first, it will solve you a lot of problems on the way!!!
If you don’t have a very good understanding of the basic tools for this, namely Photoshop (or GIMP) and Blender, remember, Google is your friend.
===================================================================
Software I used
- Adobe Photoshop 2024
- Blender 3.3.1.4 LTS
- msfs2blend v0.4 (Blender import tool made by bestdani - https://github.com/bestdani/msfs2blend)
- MSFSLayoutGenerator (made by HughesMDflyer4 - https://github.com/HughesMDflyer4/MSFSLayoutGenerator)
- IntelTextureWorks (for importing and exporting DDS files - https://software.intel.com/content/www/us/en/develop/articles/intel-texture-works-plugin.html)
- Notepad++ (for editing cfg files)
Software you will need
- Adobe Photoshop (any recent version will do)
- Blender 3.x.x (preferably 3.3.1.4 and up – Not tested with Blender 4)
- IntelTextureWorks (https://software.intel.com/content/www/us/en/develop/articles/intel-texture-works-plugin.html)
- MSFSLayoutGenerator (layout.json generator - https://github.com/HughesMDflyer4/MSFSLayoutGenerator)
- Notepad++ (or any plain text editor)
===================================================================
About the blender file
In the previous version I had completely removed the ribbons that overlapped the fuselage in the UVs! In this version, the ribbons are now their own object in a separate collection in blender. However, they are not cleaned up and as a result, they are there only for preview.
Collections in Blender file:
- Fuselage - MAIN LIVERY
- Engines - MAIN LIVERY
- Wings - MAIN LIVERY
- Flaps - Spoilers - Ailerons - Rudder - MAIN LIVERY
- Landing Gear Retracted - MAIN LIVERY
- No Paint - Landing Extended - PREVIEW ONLY
- No Paint - DECALS - PREVIEW ONLY
- No Paint - Inner Parts - Windshields - Lights - PREVIEW ONLY
- No Paint - Cockpit - PREVIEW ONLY
- No Paint - RIBBONS - RIVETS - PREVIEW ONLY
- No Paint - Scene - PREVIEW ONLY
- No Paint - Lights - PREVIEW ONLY
===================================================================
Some final words
This is not the “professional way” of finalizing and packaging a livery for MSFS (The final export after you have painted your livery). While it will work perfectly fine, there are dedicated (but a bit more complex) tools that can be used to create json, FLAGS and cfg files, thumbnails etc, like the MSFS Livery Tools, Microsoft’s own Simulator Developer's menu, MSFS SDK etc,. If you intend to distribute your livery as a payware of donationware I would suggest to use this Paintkit in combination with those tools.
If you need more help with the FlyByWire A32NX textures, you can visit https://docs.flybywiresim.com/dev-corner/texture-changes/ that has some help files and guides. (Some of those files are already into the PSDs as Guide Layers)
Be sure to read the Read Me!
Finally, this download does not contain the work of others, but the work of others made it possible for me to make this.
Thanks for downloading this, I spent a lot of time and effort for this and I hope it helps.
Did you like it? Leave a comment!
Comments(119)
Log in to join the discussion
Log Inabout 2 months ago
6 months ago
10 months ago
12 months ago
about 1 year ago
over 1 year ago
However the star alliance doesn't want to change what do i need to name the new file to.
over 1 year ago
over 1 year ago
over 1 year ago
over 1 year ago
over 1 year ago
over 1 year ago
over 1 year ago
over 1 year ago
over 1 year ago
over 1 year ago
over 1 year ago
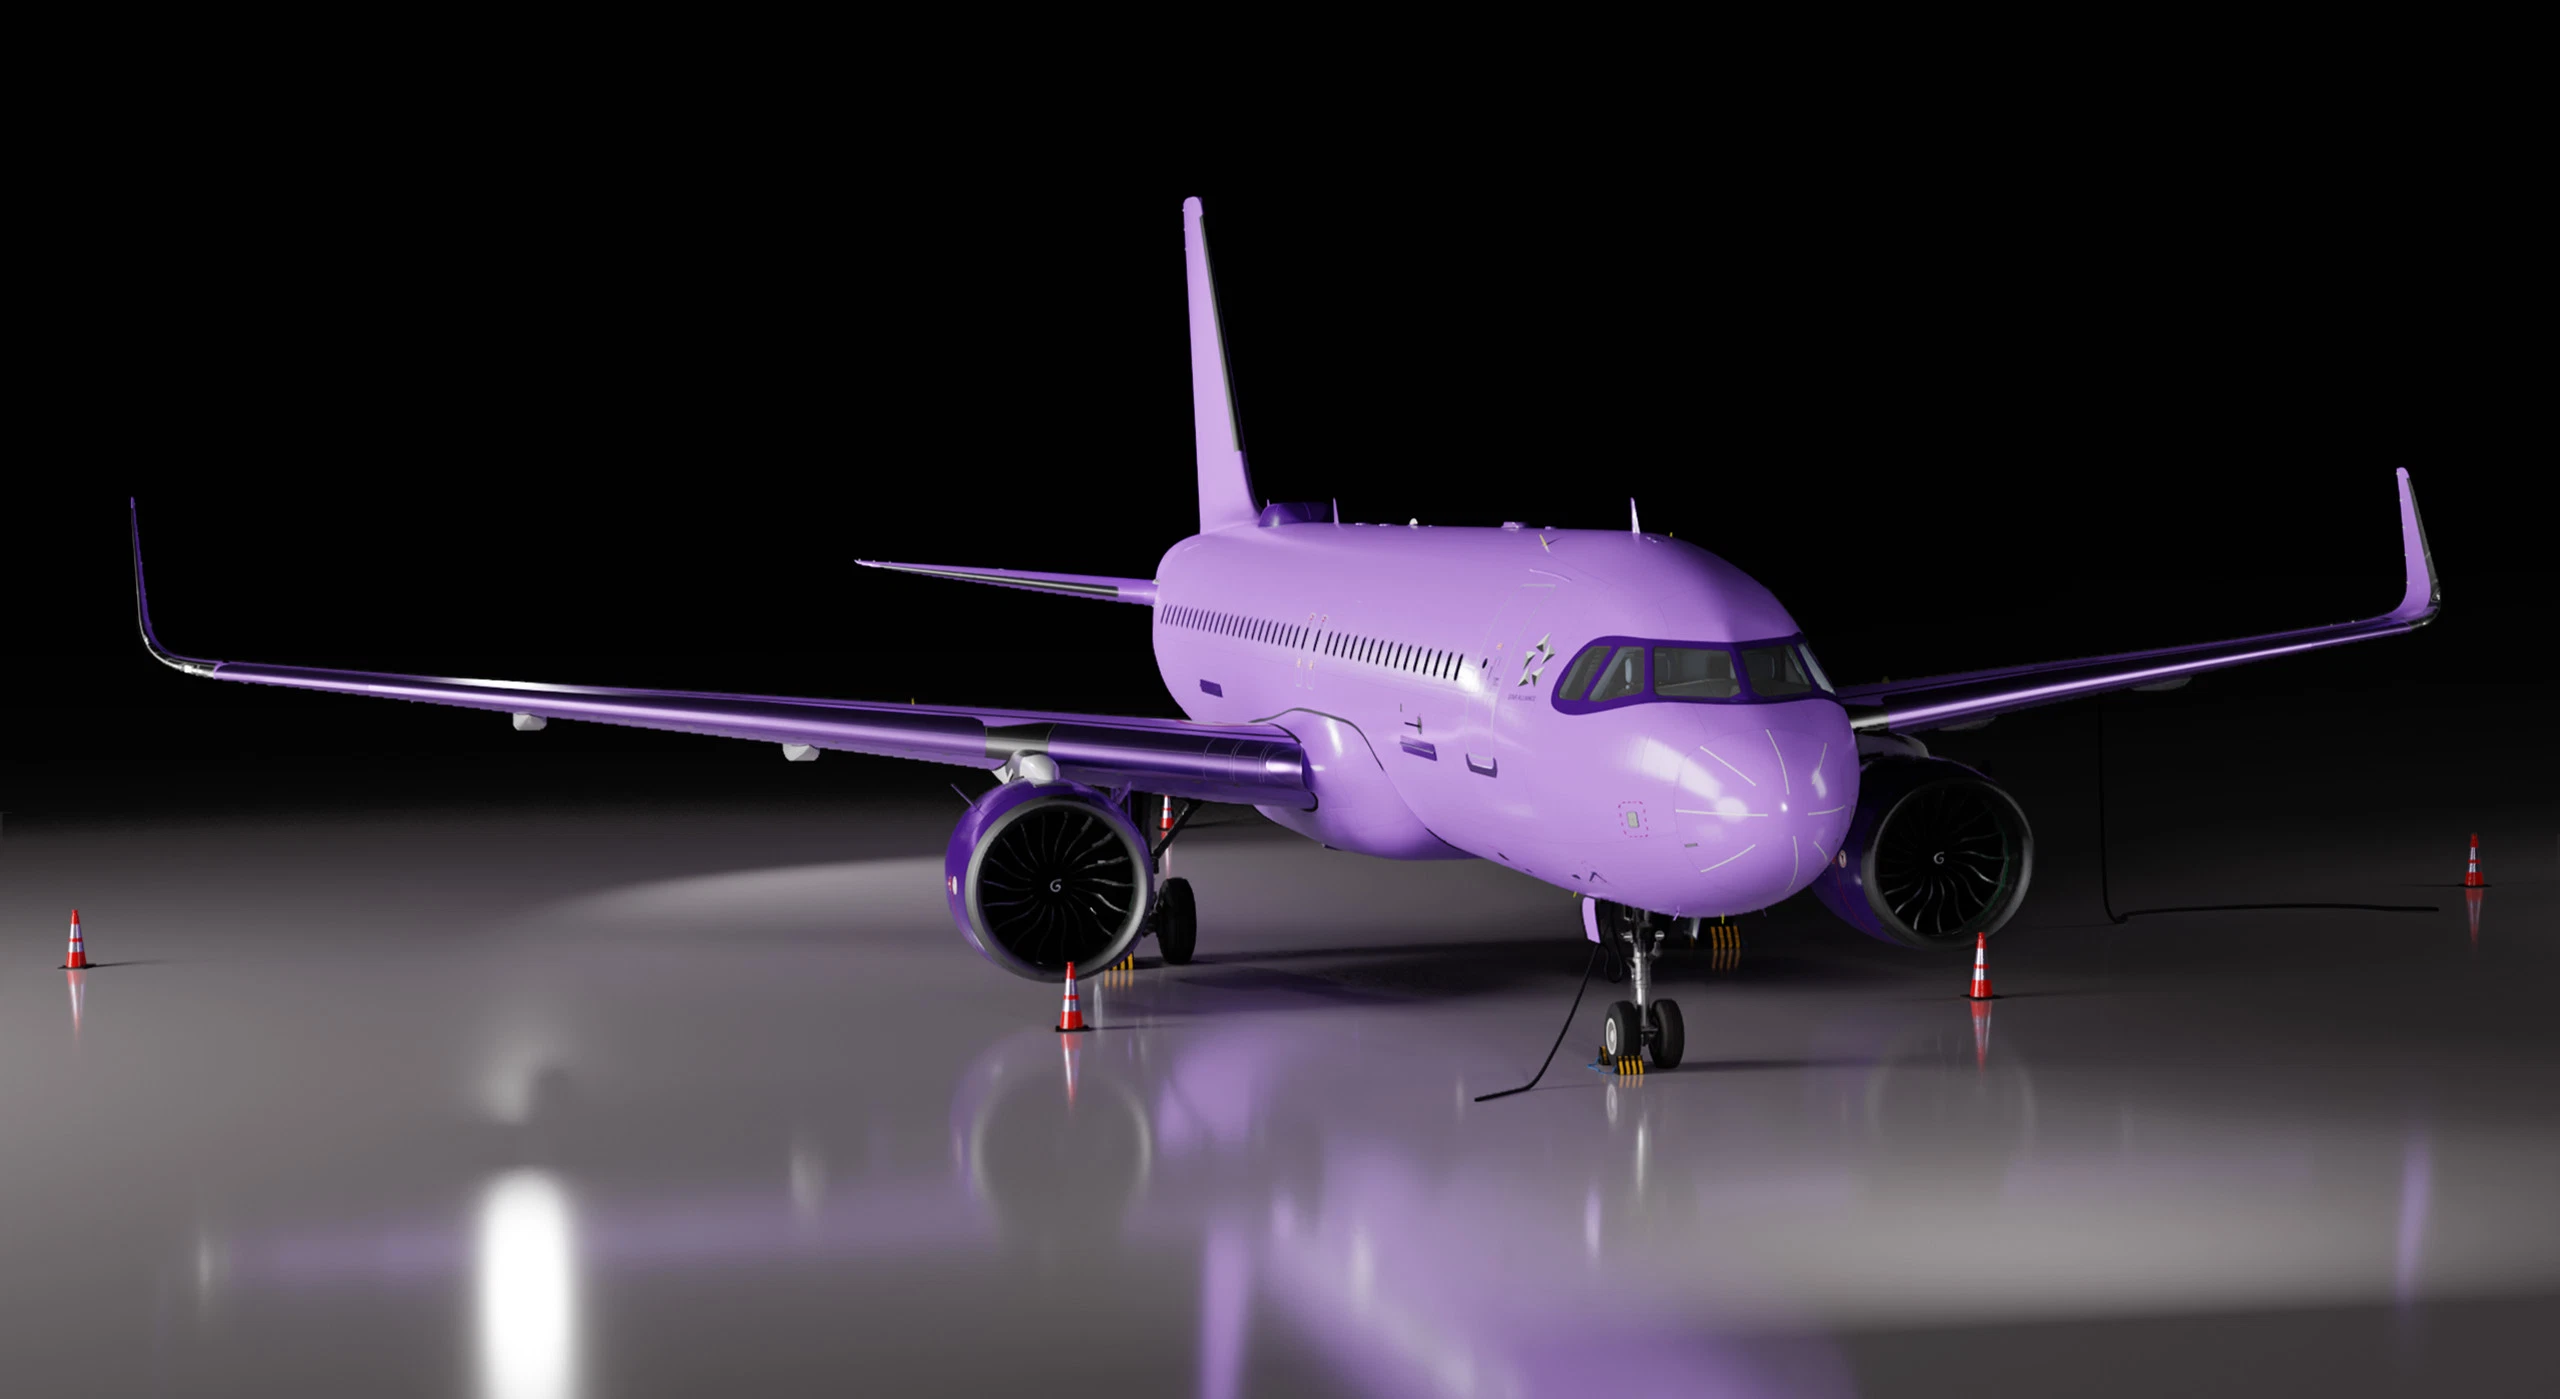
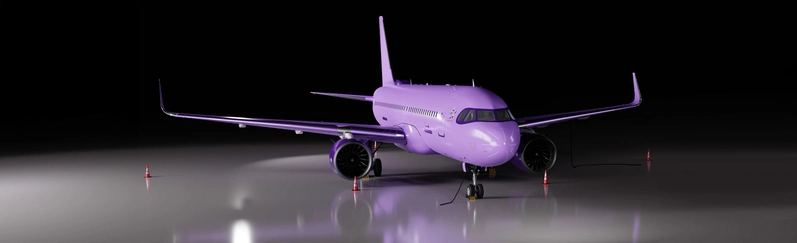
A320 NEO Complete 8K Paintkit for Blender and Photoshop
Create stunning A320 NEO liveries with this complete 8K Paintkit for Blender and Photoshop. Includes PSD and XCF files, textures, and comprehensive guides for both Asobo A320 NEO and FlyByWire A32NX. Perfect for those familiar with Photoshop and Blender looking to customize liveries effortlessly.
User Reviews
27 reviews
More Information
Version History
• Flaps, Spoilers and Ailerons are now included in the model • NORMALS and COMPOSITE materials are now included • Minor improvements in the main PSDs • MipMap Photoshop Action Depreciation • New PSDs for extra parts for the FlyByWire A32NX • A320NEO_AIRFRAME_LIVERY_ALBD.PNG.psd (Sharklets) • CUP_LOW2_ALBEDO.PNG.psd (Coffee Cup in the Cockpit) • DECALS_BANDIT_WINDOW_ALBD.PNG.psd (Bandid Mask, Elevator Trim Marks. READ NOTE 3!) • DECALS_DOOR_CARGO_HINGES_ALBD.PNG.psd (Unmirrored Door Hinges) • HONEYWELLJETWAVE_ALBEDO.PNG.psd (EXPERIMENTAL Version of A32NX, Honeywell Jetwave Antenna) • DECAL_LOGO_FRONT_ALBD.PNG.psd (Star Alliance Logo or similar) • All Objects are separated by material, except from the main Cockpit part. • Blender file now includes two linked copy Scenes for Rendering Thumbnails • Cockpit textures are reduced in size to keep the final PaintKit size low. (Extra ZIP file with the High Res Cockpit Textures is available for download – Size 1.68Gb) • Minor changes and rearrangement in the collections in the Blender file for easier workflow. • GIMP XCF files Included (Photoshop users can delete this folder)
Related
![A320 NEO Planet Express - Futurama [8K Fictional Livery]](https://cdn.flightsim.to/images/12/cPwBRy62.jpg?width=500)
A320 NEO Planet Express - Futurama [8K Fictional Livery]
Fly through the skies in style with this 8K fictional livery inspired by the iconic Planet Express Ship from Futurama. Choose from 3 variations and enjoy a custom slurm cockpit coffee cup for the A32NX FlyByWire version. Perfect for players looking to add a touch of sci-fi to their Flight Simulator experience.
by skoy21
![[A32NX - FBW] Planet Express - Futurama [8K Fictional Livery]](https://cdn.flightsim.to/images/13/KqUliI9p.jpg?width=500)
[A32NX - FBW] Planet Express - Futurama [8K Fictional Livery]
Fly in style with the 8K fictional livery inspired by Futuramas iconic Planet Express Ship, featuring three variations and a unique Slurm cockpit coffee cup. Compatible with the FBW A32NX, this livery offers a fun twist to your flying experience. Just drop it into your community folder and take off into the future!
by skoy21
6 days ago