
Description
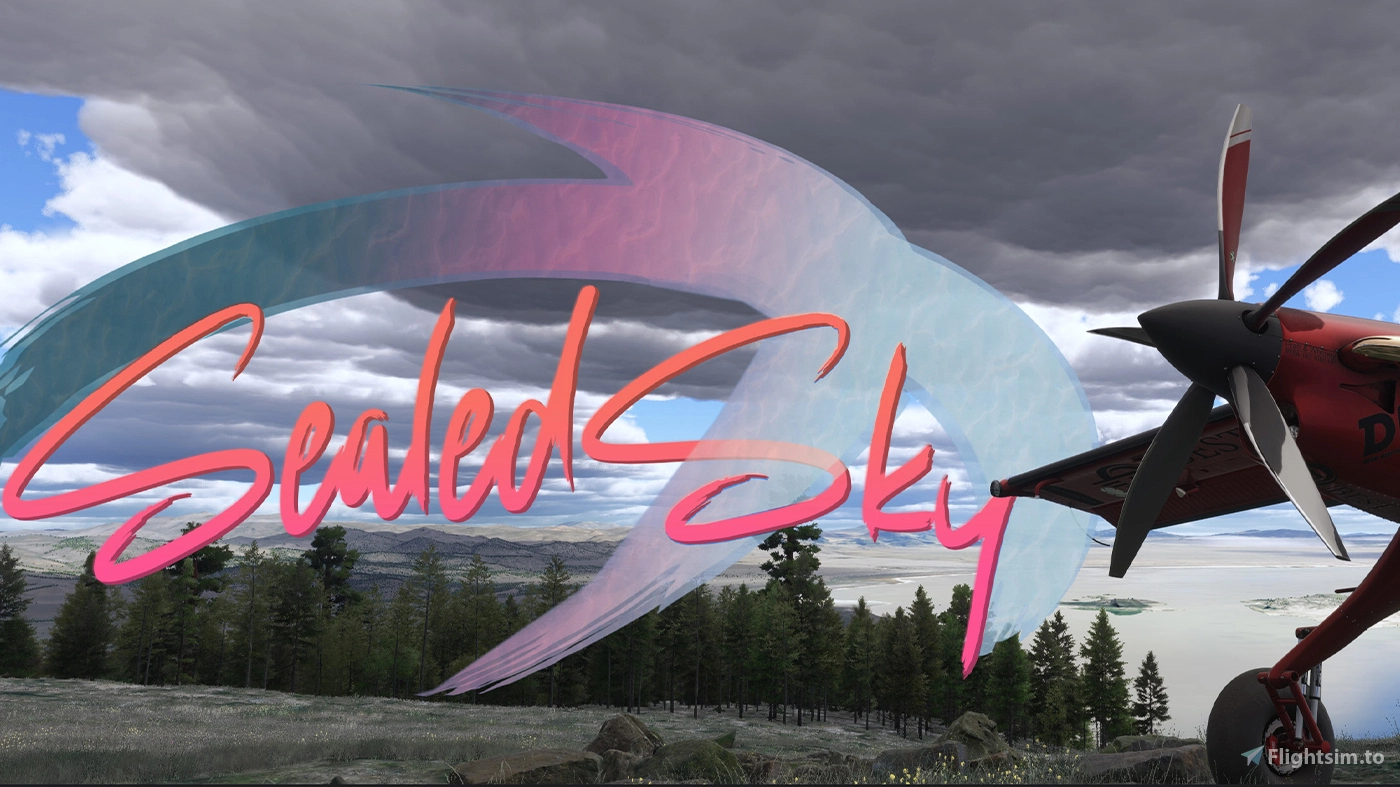
🎨 Sealed Sky Reshade Preset – A new perspective for MSFS2024/20!
The Sealed Sky Reshade Preset was created with the simple goal of enhancing the entire visual experience of MSFS2024 and 2020 for the community. This is not a dramatic visual overhaul but a minimalistic and subtle enhancement designed to underline and complement the simulator's existing beauty. It reduces the overly warm brownish haze, delivering a cleaner and crisper look while preserving a natural, photorealistic feel.
Whether you're a VATSIM pilot flying large aircraft from airport to airport or a nature lover exploring the landscapes from the cockpit of a small GA plane on a low, scenic flight, Sealed Sky is tailored to enhance every aspect of your flying experience.
✨ Features:
Photorealistic Feel: Maintains a natural and immersive visual style across the whole sim.
Clearer, Cleaner Visuals: Reduces the haze for a fresh, crisp appearance in every scene.
Balanced Lighting and Colors: Enhances contrast and tones to make skies, water, and landscapes more lifelike.
Whole-Sim Improvement: From the skies above to the ground below, every detail feels more vivid and realistic.
Performance-Friendly: Designed to provide beautiful visuals with minimal to no impact on FPS.
📥 Download Sealed Sky now and enjoy a clearer, more vibrant MSFS2024/2020! ✈️
A gift to the community, made for anyone who loves exploring the skies.
Easy Installation (please read before you ask):
Download Reshade from reshade.me.
Run the installer and select Microsoft Flight Simulator 2024 (.exe file in the sim’s directory).
Choose DirectX 10/11/12 when prompted.
Select all shaders (required) and complete the installation.
Place the Sealed Sky Preset file into the same folder as the simulator’s .exe.
Launch the simulator, press Home to open Reshade, and complete the tutorial (if it appears).
In the Reshade menu, click the preset dropdown at the top, select Sealed Sky.ini, and apply it.
Note: Makes sure you are using Nvidia output color depth to 10 bit if your monitor can handle it and use dynamic range full in your Nvidia control panel! A quick video tutorial for this setting is here -> https://youtu.be/uT6eLArGZ4E?si=VlT8nVxuAtk0NgJI
My Specs: RTX4090/ AMD R9 7900X3D / 64GB DDR5 -> therefore im using Max Settings
Sealed Sky Reshade
The Sealed Sky Reshade Preset offers a subtle enhancement to the visual experience of Microsoft Flight Simulator 2024. Aimed at reducing haze and improving clarity, this preset maintains a natural, photorealistic appearance while optimizing lighting and color balance. Designed for both casual pilots and aviation enthusiasts, it enhances the simulation environment without significantly affecting performance. Compatibility with NVIDIA Filters is required for optimal results.
User Reviews
29 reviews
Version History
I have made a few adjustments while retaining the previous version for comparison. Feel free to review both and choose the one you prefer.
Related
![A32NX | Custom Black Tablet Retexture [Airbus] [HQ]](https://cdn.flightsim.to/images/17/a32nx-custom-black-tablet-retexture-airbus-hq-lGsi_.jpg?width=500)
A32NX | Custom Black Tablet Retexture [Airbus] [HQ]
Enhance your A32NX experience with this Custom Black Tablet Retexture, offering two versions with realistic scratches and decals. Features include a changed frame color, improved screen fingerprints, and an authentic used look. Compatible with the A32NX by FlyByWire, this retexture adds a unique touch to your cockpit.
by SW3E3G
![A32NX | Custom White Tablet Retexture [Airbus] [HQ]](https://cdn.flightsim.to/images/09/xoOU6eWC.png?width=500)
A32NX | Custom White Tablet Retexture [Airbus] [HQ]
Enhance your A32NX experience with this Custom White Tablet Retexture add-on. Version 1.2 features improved fingerprints, frame color changes, and a used look for a realistic feel. Install by dropping the provided file into the specified directory. Compatible with the A32NX mod by FlyByWire.
by SW3E3G
![A32NX | Lufthansa coffee cup skin [Black/White/Stained cover]](https://cdn.flightsim.to/images/09/6d7Qi5eH.png?width=500)
A32NX | Lufthansa coffee cup skin [Black/White/Stained cover]
A custom skin for the A32NX with a Lufthansa coffee cup design in black, white, and stained covers. Extract the provided dds file to enhance your aircrafts appearance.
by SW3E3G
Log in to join the discussion
Log InComments(106)
about 8 hours ago
6 days ago
7 days ago
13 days ago
17 days ago
20 days ago
about 1 month ago
This comment has been deleted
about 1 month ago
about 2 months ago
Sealed Sky.ini' uses unknown technique 'ColorGrading@ColorGrading.fx'.
How do I download these two files?
25 days ago
25 days ago
20 days ago
https://github.com/mj-ehsan/NiceGuy-Shaders/blob/main/Shaders/SlowSharp.fx
https://github.com/BarbatosAWLS/BBFX_OLD-Shaders/blob/main/Shaders/ColorGrading.fx
from Google Gemeni
Place the files: Move both downloaded .fx files directly into your game or simulator's reshade-shaders/Shaders folder (usually located where your main game .exe or bin folder is).
2 months ago
about 2 months ago
home page, guides top right of page. hope this helps
2 months ago
2 months ago
2 months ago
about 1 month ago
3 months ago