
DISCLAIMER: flightsim.to destroys image quality in thumbnails, here are the original images of the preset:
https://drive.google.com/drive/folders/17OYnosR6NmqVm6d3SjSNQfGl5YvMmCPL
https://www.reddit.com/r/flightsim/comments/1amrldk/ive_matured_from_wasting_time_tweaking_files_in/
Hello!
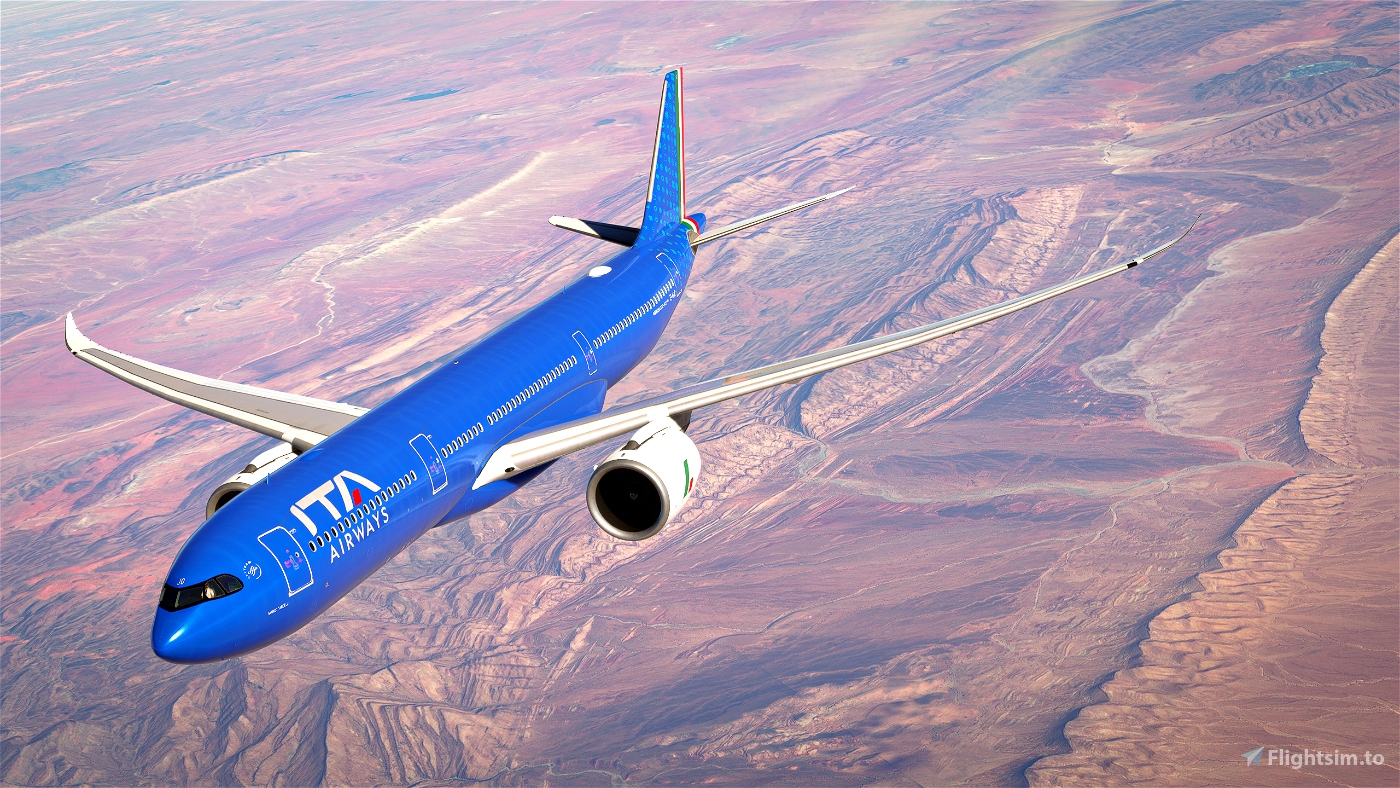
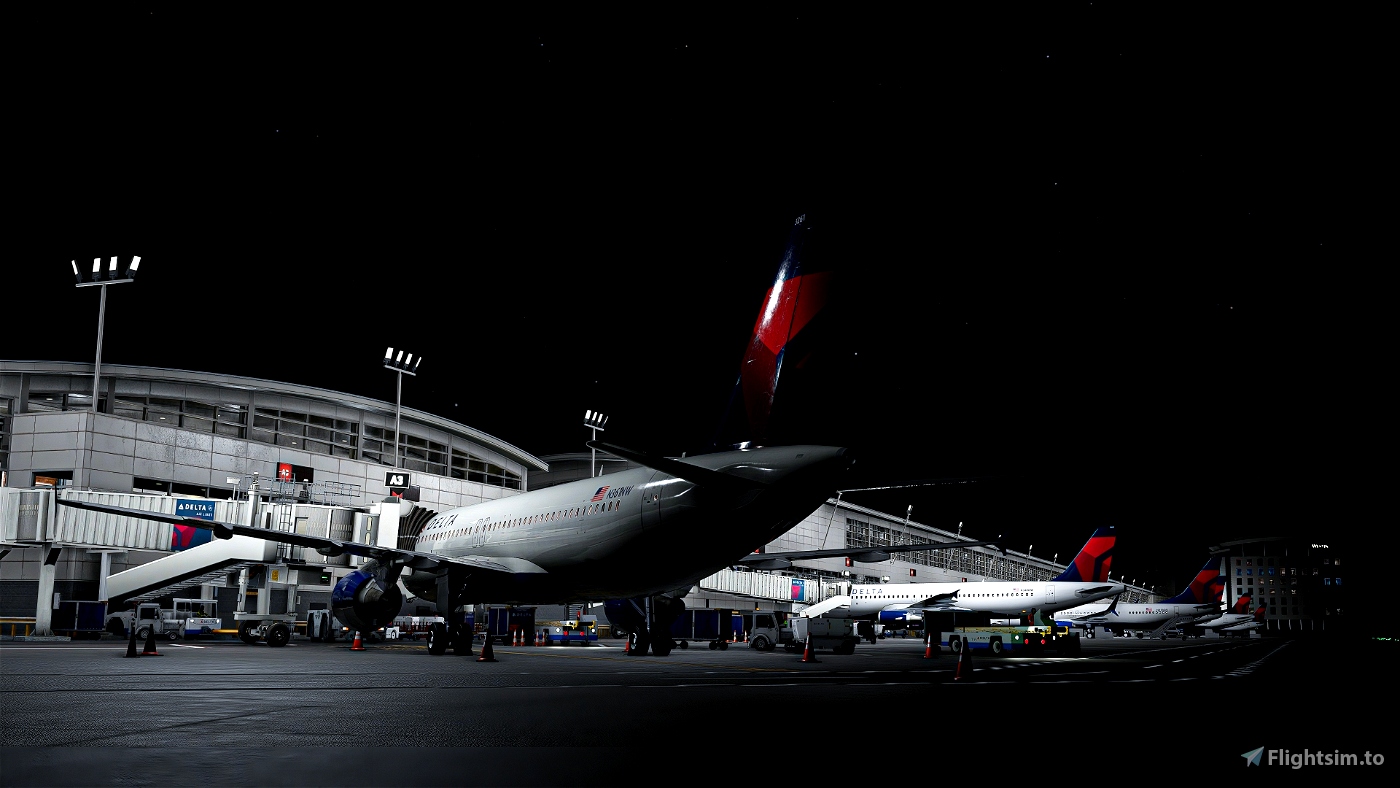
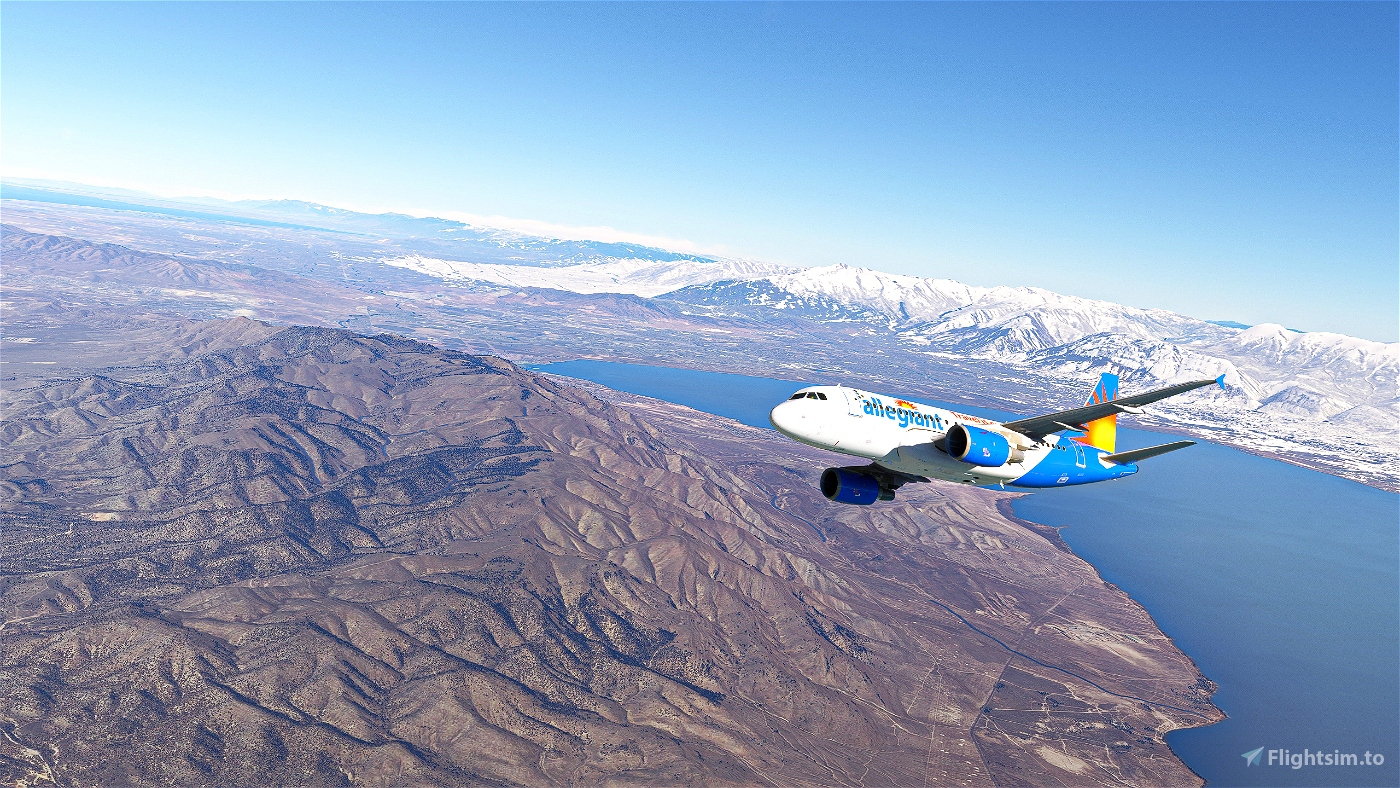
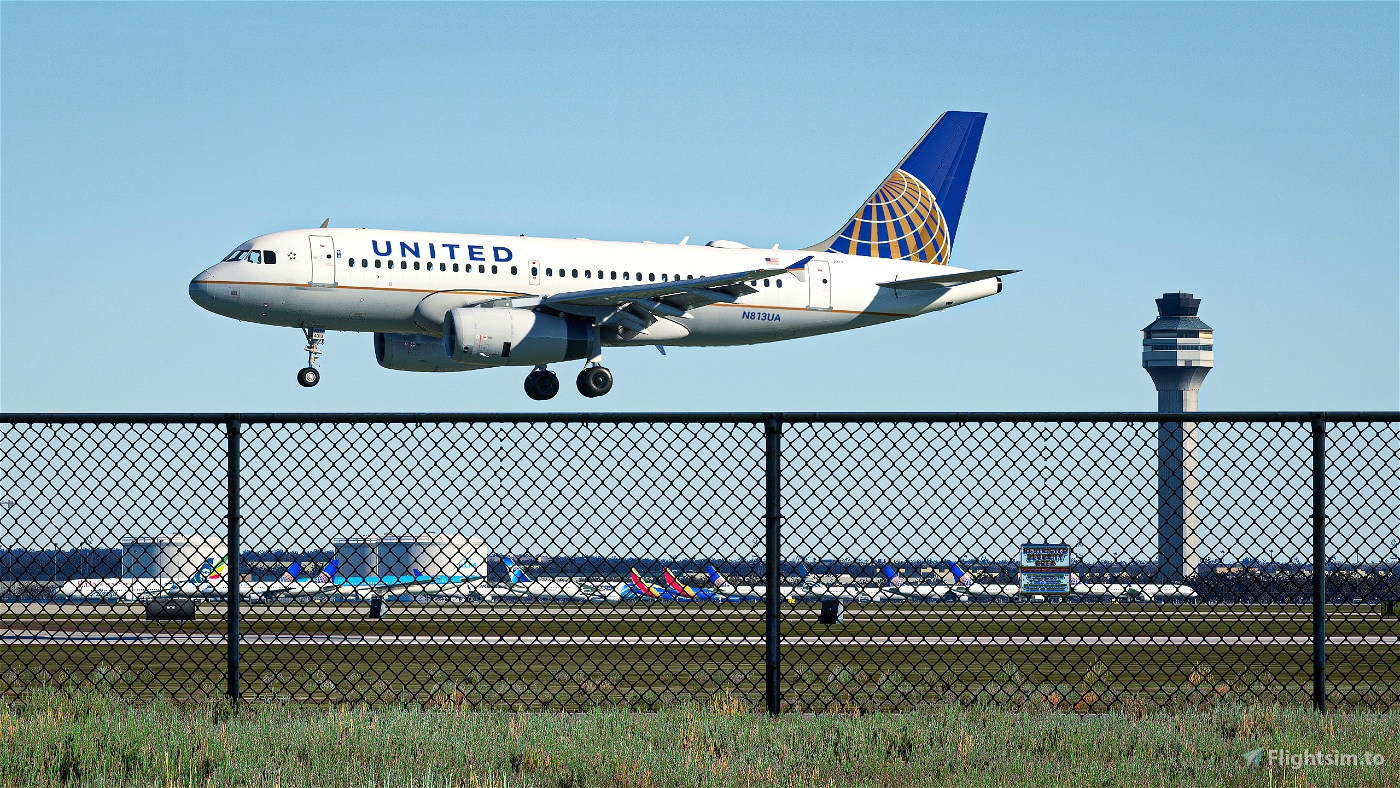
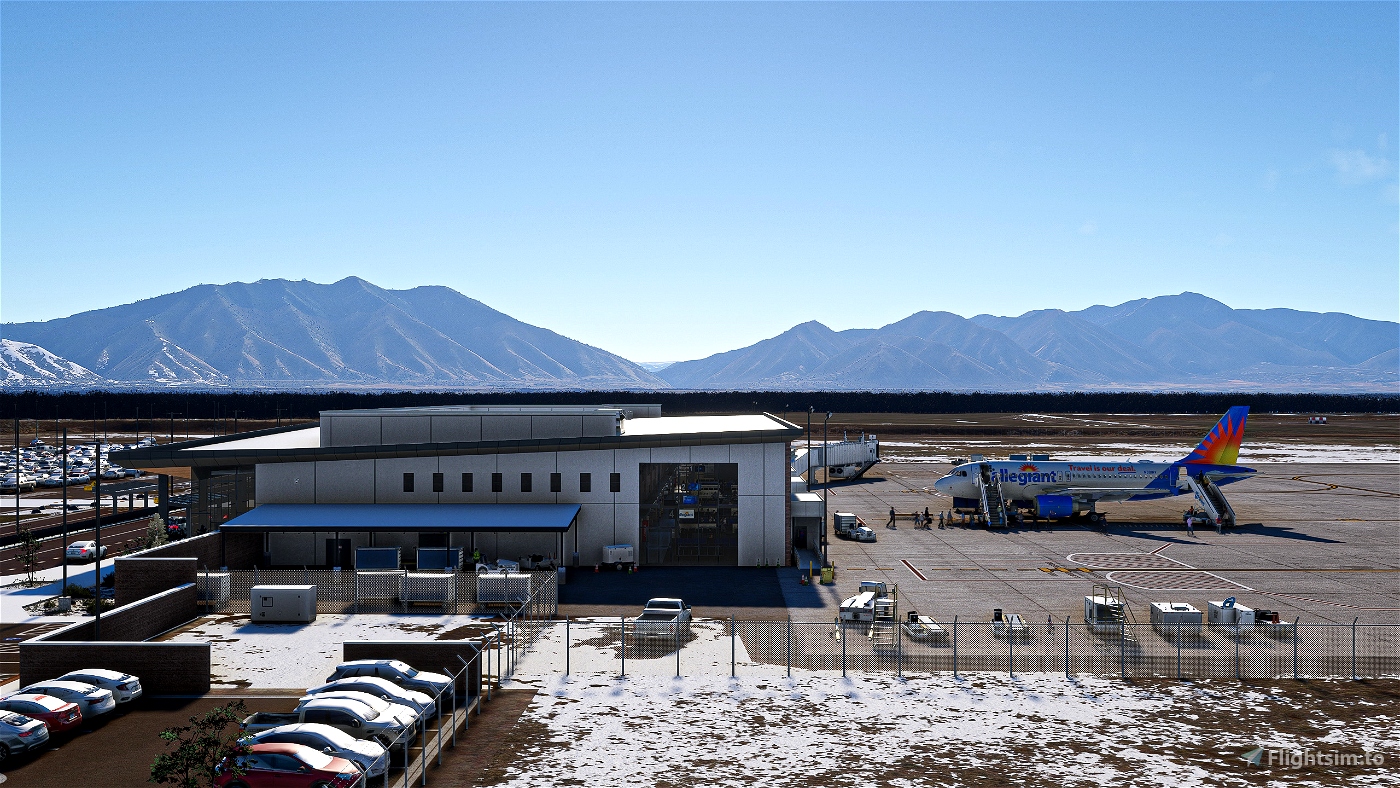
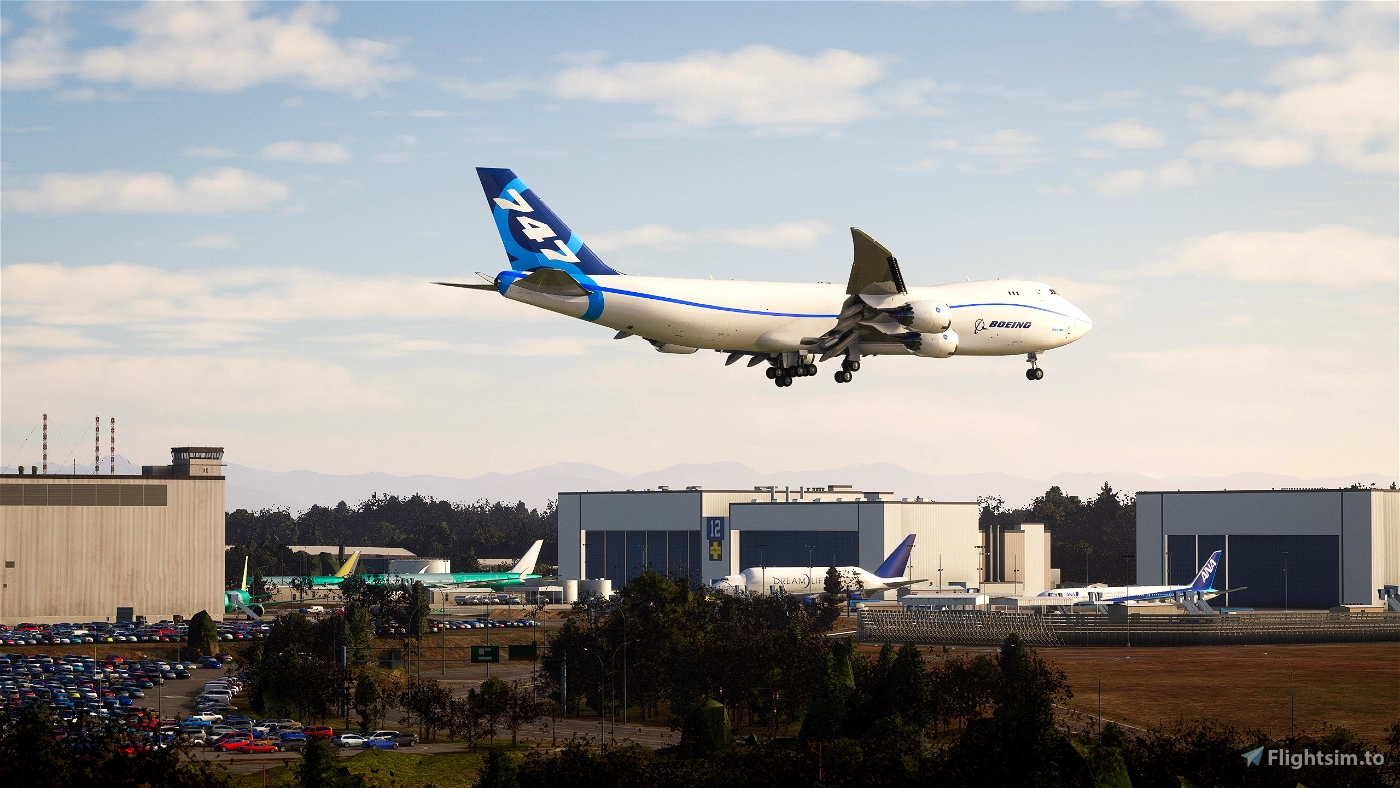
As requested, here is a copy of my most recent ReShade .ini file. This profile primarily corrects for the wonky, orange-y lighting inherent to MSFS.
To use this preset, you need both qUINT's lightroom.fx as well as LumaSharpen.fx for ReShade 6. If we're being honest, I don't even know how you'd install this profile, as I just crafted it myself and exported it, but it should be a simple drag and drop into a shader config folder.
Keep in mind: these shaders change every flight I fly, so it might not look the same in all of my screenshots, but the adjustments I make are the same every time: temperature, saturation, blacks/shadows. I've also added LumaSharpen.fx to reduce the softness of msfs' look, but I even dropped its level to minimize graininess/worminess (if that's what you call it).
I'm very excited to see what y'all think--have fun with it!!
Best,
Nick


22 days ago
22 days ago
nszhang1
Evan0_0
2 months ago
2 months ago
nszhang1
Krilli
2 months ago
2 months ago
nszhang1
slaapzz
First, download the latest reshade file by reshade themselves.
Then, open the reshade exe file (it will say reshade and the version) and open it, browse to your msfs2020 folder, and select "gamelaunchhelper" exe file, then on the top right of shader, press uncheck all and dont do anything else.
Then, download this present folder, open it and on the bottom of reshade, open the ini file inside of the folder for this present folder. Then just click next or whatever it says in reshade and you should be good to go! (drag the ini file into the msfs2020 content folder btw)
2 months ago
yankeezuluo
3 months ago
3 months ago
nszhang1
Speedbird85
3 months ago
3 months ago
nszhang1
Berthje