ATTENTION!! This file is compatible with Sim Update 12. Please download this newest version 2.5
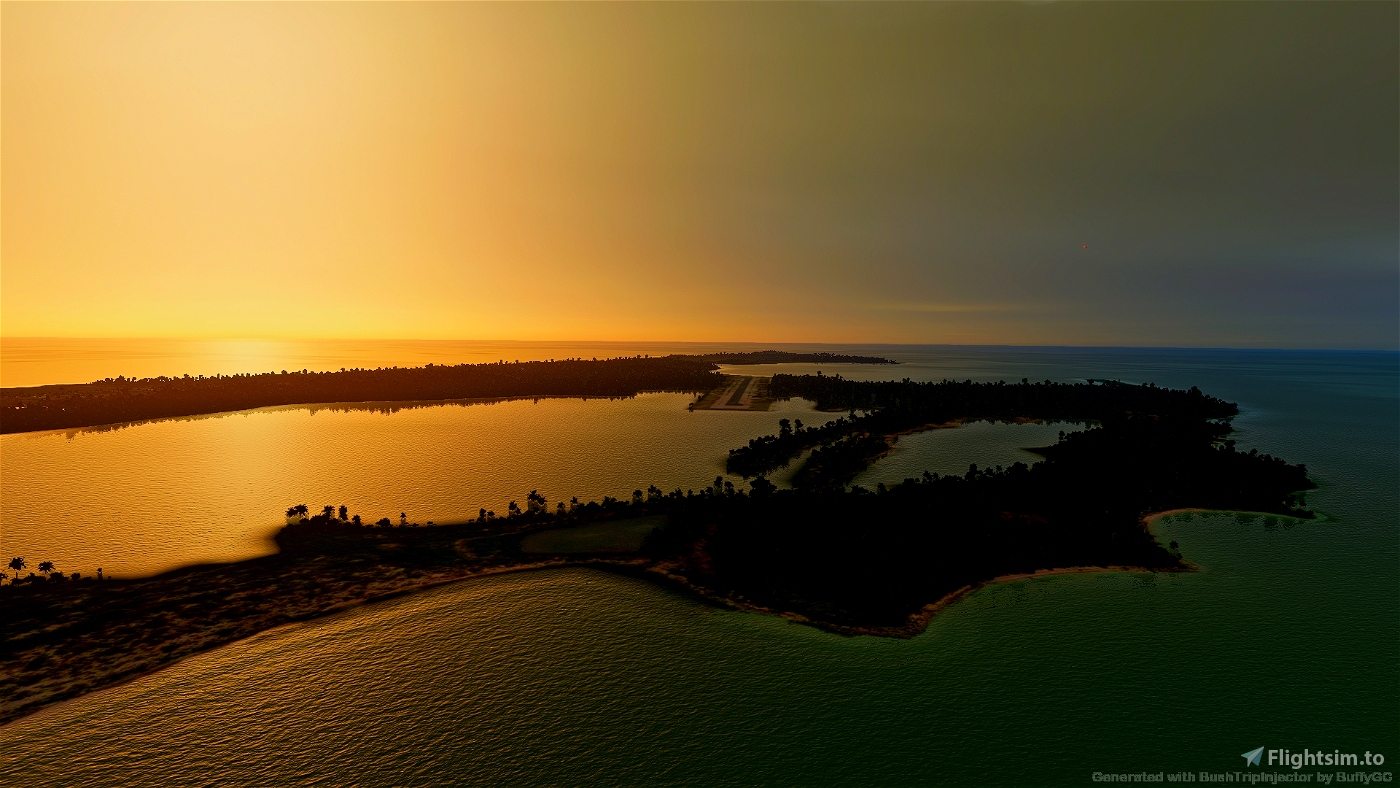
Let's Fly to: The Bahamas
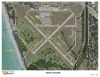
Mission Set: Bahamas Odyssey Day 07
Flight Times (Suggested)
Date: June 15, 2023
MYLD - Departure 08:00 AM
MYRD - Departure 10:00 AM
MYAP - Departure 2:00 PM
MYCI - Departure 5:00 PM
MYMM - Departure 6:00 PM
MYIG - Arrival 7:00 PM
Recommended files for this Flight Adventure: These files below were used on this adventure to help enhance the trip along the way. I highly recommend using them and don't think you'll be disappointed if you also choose to install them in your community folder. If you choose to not use these suggested scenery addons, then some of the text to speech sounds may not make sense when you hear them during the trip.
Please go to the links below to find these files.
Bahamas Scenery Pack by goldenred49
https://flightsim.to/file/5854/bahamas-scenery-mega-pack
Bahamas Airport Pack by Art Poole
https://flightsim.to/file/15064/bahamas
Project Notes and Important Information about this.
This is a series of adventure flights that will visit destinations in Microsoft Flight Simulator using pre-selected routes that your aircraft will follow using the autopilot. These flights use pre-programmed departure and destination airports and GPS waypoints that the flight plan will use. However, if you want to disconnect the autopilot and go stop at any of the other spots you discover along the way, feel free to go exploring. Once you get back on the flight path for the trip, you can re-engage the autopilot and the GPS route will then pick back up and continue on as originally planned.
There are audio segments where text to speech is used along the flight route. These announcements include things like Points of interest, facts and historical data and other messages that help tell a story during the route that you're flying along. Bush Trip Injector is used to create this trip and it has the audio enhancement capability to make this feature possible.
Aircraft Used: This flight adventure set uses the default Asobo Cessna 172 "Skyhawk" that includes the Garmin 1000 Glass Cockpit avionics suite.
See more detailed specifics below:
This is a series of adventure flights that will visit destinations in Microsoft Flight Simulator using pre-selected routes that your aircraft will follow using the autopilot. Altitude choices are based on VFR cruising altitudes planning where the standard practice is that for compass headings of 000 degrees to 179 degrees use odd 1000's plus 500 feet MSL and compass headings of 180 degrees to 359 degrees use even 1000's plus 500 feet MSL, so plan your altitude for flights accordingly.
These flights use pre-programmed departure and destination airports and GPS waypoints that the flight plan will use. Fly these using the autopilot and in NAV/GPS mode. However, if you want to disconnect the autopilot and go stop at any of the other spots you discover along the way, feel free to go exploring. Once you get back on the flight path for the trip, you can re-engage the autopilot and the GPS route will then pick back up and continue on as originally planned.
Mission Leg completion: After you land at one of the leg destination airports, be sure to park your aircraft at a nearby parking spot that should be next to the airstrip and then set the parking brake. You'll need to shut down the engine, lights, battery and avionics and then the "mission completed" window should then activate. You'll be able to end the mission at that point, or you can choose to continue on for the next leg of the journey. (See Mission Time Reset paragraph below for more details on that process)
Resuming the Mission: Once you're ready to return to the cockpit and set off on the next leg of the journey, you may discover that after firing up the engine and starting up the avionics that the GPS flightplan is showing the first waypoint of the flightplan again. You may now be hundreds of miles away from waypoint 01. So to start from your current position along the route and pick up the flight plan again just look at the next waypoint on your GPS Map display and make a note of that waypoint name or USR number. (NOTE: This is not the VFR map you may choose in the inflight menu area) You will have a waypoint code or name showing on the plan information and GPS Map. (Example: USR17, USR102, etc.) Then choose the "Direct To" option of your GPS and insert that waypoint code into the search area. Hit "ENT" on your GPS controls to enter that waypoint and there should now be a pink line showing on your GPS map display that goes from your current airport location to that waypoint you need to head to along the pre-programmed flight route. Begin your flight by taking off and going to that waypoint you just entered using the "Direct To" option. Once you cross over that waypoint, engage the autopilot and select the "NAV" option. Your autopilot will show the route line in pink on the GPS Map and will then show all the following waypoints. The autopilot will engage to follow the pre-planned route if you've set up this waypoint insertion correctly and you can then continue on to your next destination.
Enhancements and Tools: There are text to sound files used to share information along the flight route at various waypoints to enhance the experience. This is not a typical bush mission inside Microsoft Flight Simulator where you have to constantly look at your navlog. I personally found that cumbersome and sometimes incomplete. I enjoy using the various navigation tools available in a modern aircraft and you will have access to those tools to use at your disposal that will help keep the aircraft flying along the intended flight route on each flight. If you want to use the ATC, autopilot, GPS map, change the weather, time, refuel, etc. you should be able to accomplish those steps to make your flight more enjoyable. Want to just put the aircraft on autopilot and let that take care of everything, you can do that.
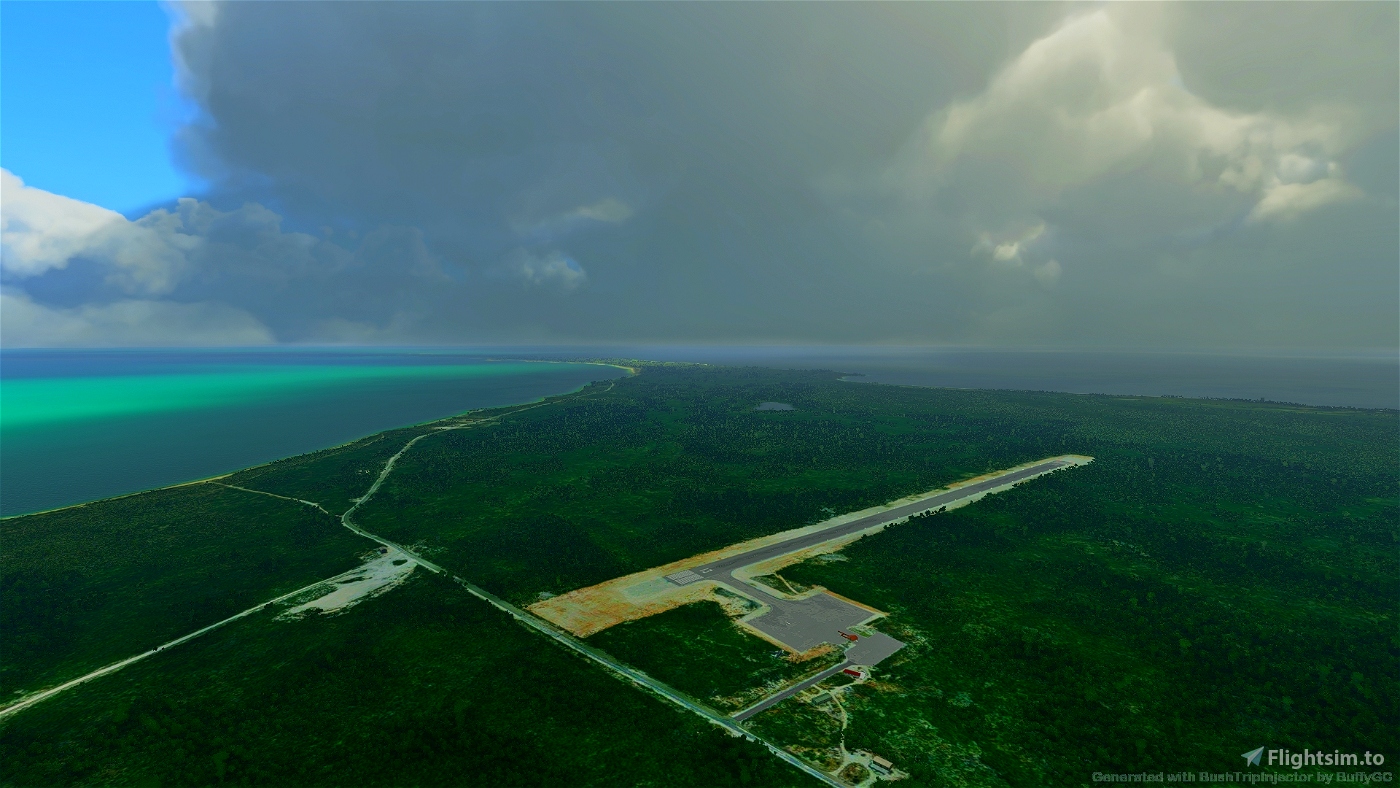
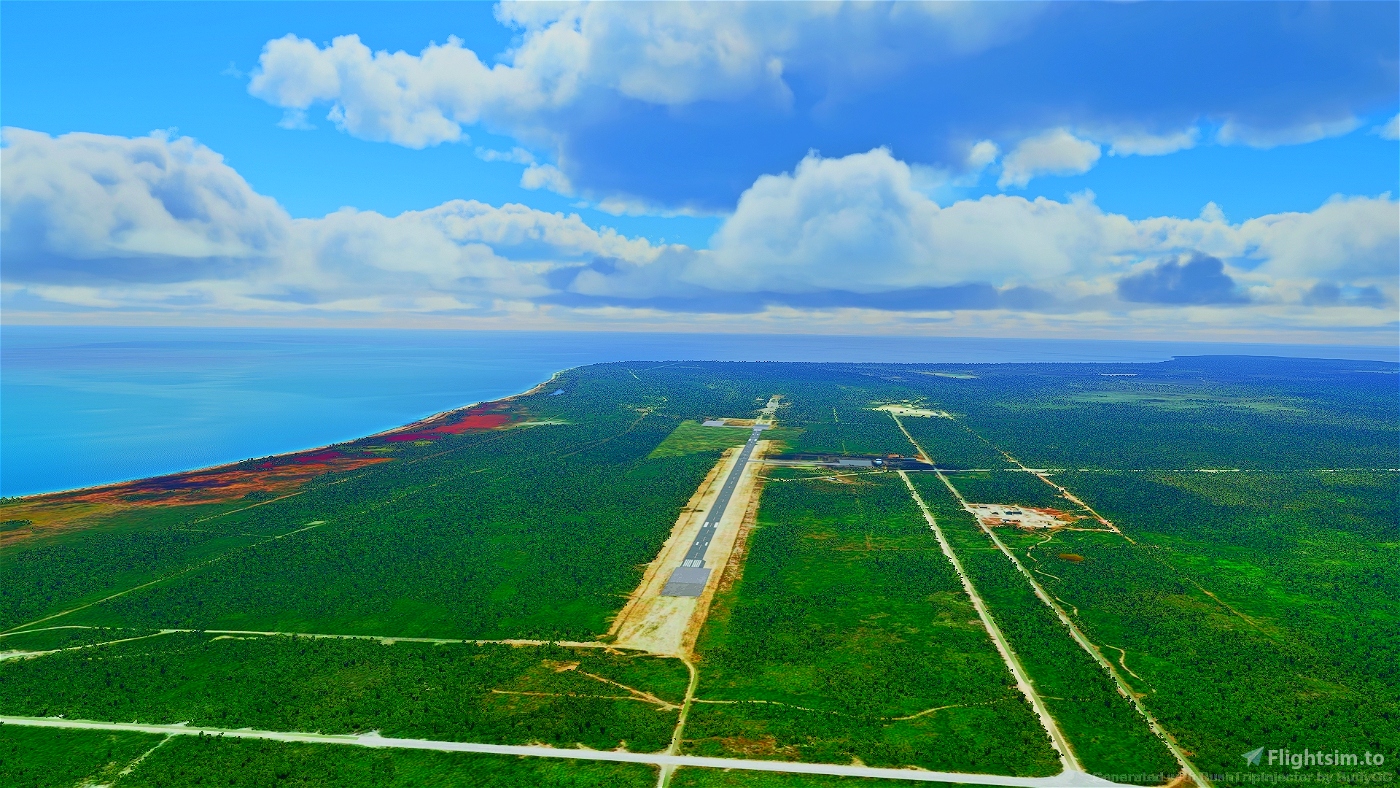
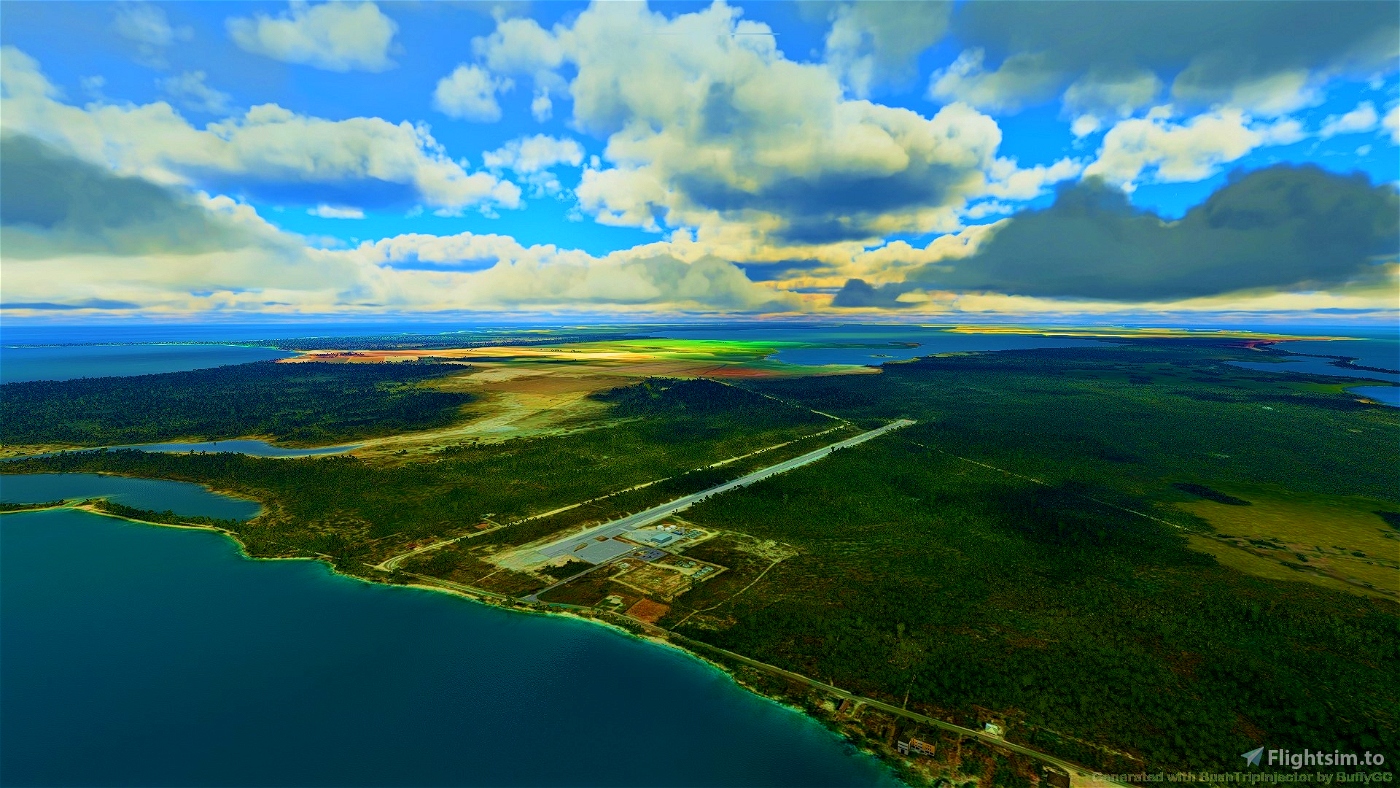
Weather Changes: Feel like using live weather? You can choose this option. However, if the live weather out there is too harsh, change it to clear skies, that's entirely possible. Just click on that cloud icon. Weather conditions are again entirely optional based on each individuals wishes. You'll start with clear skies but if you want live weather, select that or one of the simulator presets or go ahead and create your own conditions. Best of all is that you have choices that you can use to make this more in line with whatever conditions you prefer to fly in. So remember that the weather can be changed between live and preset weather using the "Cloud" icon menu inside the cockpit with the onscreen menu at the top of the screen.
Time Changes: Set your preferred date and make time changes as well. I've put together a suggested timeframe of dates, times of day for departure and other changeable timelines that you can use and adjust accordingly. This is made possible for you if you don't wish to use my suggestions.
The steps to make this happen go as follows: When you start out the adventure, and select the point of origin flight of the journey, it should start up at the flightplans desired parameters that were originally set when the plan was created. For example, the first flight was designed to start with the Cessna 172, engine cold and dark, sitting at parking spot. The time of day is set up at 7:00 AM and the weather has clear skies and light winds. Once you get inside the cockpit you can change the date, time, weather and make things more to your liking if you want. Or you can go along with the storyline and let things play out as I originally envisioned this journey.
Mission Time Reset: However, I've discovered that when you choose to go ahead and continue on to the next leg of the trip, when the mission generates and finally loads up, you'll find that the engine will be running already and it will be 7:00 AM again?? This seems to happen no matter if you've completed the previous leg at 5PM in the afternoon, you'll start the next leg and the time will again be 7:00 AM and pitch black outside. This really breaks the flow of the journey where my intentions were to have you fly several legs in succession during different hours of the day. Just select the cloud icon from the inflight menu at the top of the screen. Slide the time of day to the suggested departure time. Use the suggested times found below.
If you don't have the weather icon availability, make sure it's selected in the options for the inflight menu. If it still doesn't appear, then to remedy this I've found a way to make things work: Now you may already know this but I didn't. You need to do the following. After you start the next leg and you end up sitting in a cockpit of the aircraft with the engine already fired up and running, first you will need to turn off the engine using whatever auto shutdown key bindings or shut down procedure that works for you. Then shut off any lights, the avionics and battery switches. Finally make sure you set the parking brake. Now hit the "ESC" key and go to the General Options menu inside the simulator. Once that opens, go to the "Developers" option and turn "Developer Mode" on. Next find the "Options" tab of the Developer Mode menu at the top of the screen and open that. Scroll down to the first slider bar which shows hourly increments. It will show "6H", 10H, etc. Slide that to the right or left to change to the preferred time of day you want to depart from. Let's say you were expecting to start this flight at 8AM. Slide that bar until it reads "8H" and voila, the sun will be up and you'll be able to begin your next leg at that time. Then go ahead and close developer mode and then close all the general options menu selections by hitting "Apply and Save". Repeat this step for each flight on the subsequent legs of the adventure.
Aircraft Refueling: At refueling locations for airports you stop at, you will then see the "Weight" icon on the cockpit menu and you can add the fuel quantity you want at that time. You can also set your own key binding to use that will top off your tanks. This option will enable refueling and repairs at anytime. Not realistic, but possible. You should have access to other options in the onscreen menu like the weather, navlog, vfr map, settings, camera, etc.
Notes:
Bahamas Odyssey is a flight adventure set created by Brad Allen for use in Microsoft Flight Simulator. It's freeware and should remain that way. No part of this adventure can be re-purposed or included with any payware scenery collection. Any remodeling or editing of the contents of this package will need my permission please. This flight experience is the first part of a "Lets Fly To..." series of adventures that are being developed. This is a fictional flight for private enjoyment using that program. Look for follow on adventure flights all around the world in the future.
If you'd like to send me compliments, critique, give me feedback or even a small donation to help inspire me to make more of these adventures, please email me at: [email protected] or use my paypal.me/bradallen43.
Thanks and enjoy your flight. "Keep the Blue Side Up"
Copyright 2021-2023 by Brad Allen and Let's Fly To Productions
Created By Brad Allen using Bush Trip Injector by BuffyGC
Many thanks to BuffyGC for this program and all the help in how to use it properly.


 bradallen43


3 years ago
3 years ago
bradallen43
CaptJohnCoPPickles
3 years ago
bradallen43
3 years ago
3 years ago
bradallen43
spiker5